Easy Homemade Farmers Cheese with Fresh Lemon
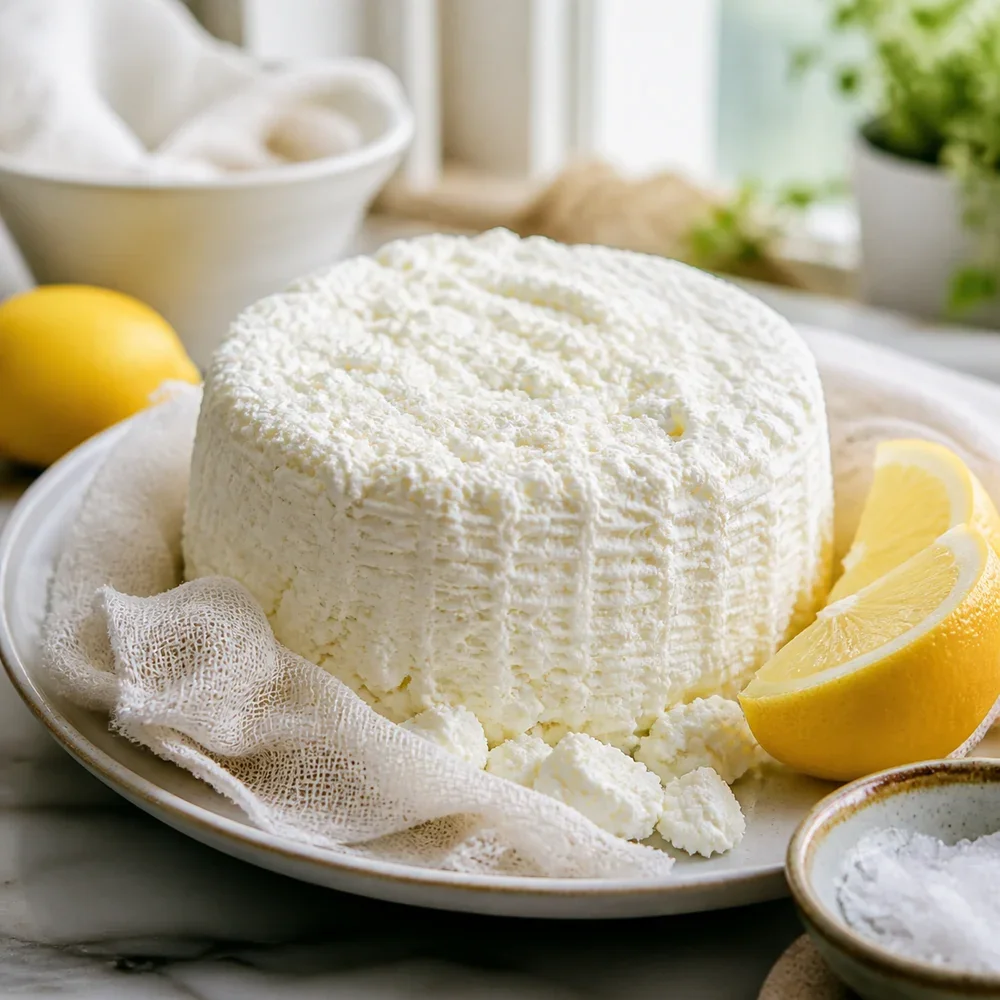

Making cheese at home feels like a bit of kitchen magic. It is one of those culinary skills that seems intimidating until you actually try it, and then you realize you have been missing out on the freshest flavor imaginable. This homestyle version, often called Farmers Cheese or Paneer, is remarkably versatile and uses simple ingredients you likely already have in your kitchen. There is nothing quite like the satisfaction of watching simple milk transform into a beautiful, snowy white block of cheese right before your eyes.
The texture is what really wins people over. It is firm enough to slice for a sandwich but soft enough to crumble over a fresh garden salad or melt slightly into warm, crusty bread. Once you taste the clean, milky flavor of a batch you have made yourself, the store-bought versions simply cannot compare. It is a fantastic project for a slow Sunday morning, and the results are sophisticated enough to serve at any dinner party or brunch spread.
Nutrition (per serving)
Directions
-
1
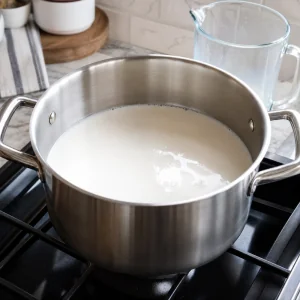
Pour the whole milk into a large, heavy-bottomed pot and set it over medium heat.
-
2
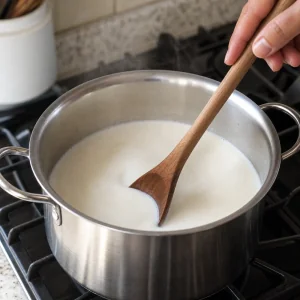
Heat the milk slowly, stirring frequently with a wooden spoon to ensure it does not scorch on the bottom of the pan.
-
3
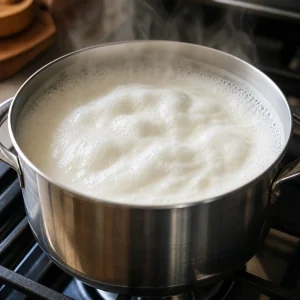
Bring the milk to a gentle boil. As soon as it begins to foam and rise, immediately turn the heat down to low.
-
4
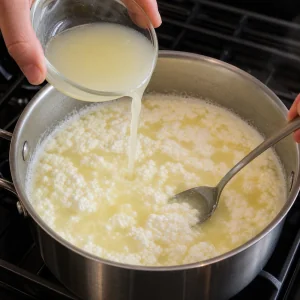
Slowly pour in the lemon juice while stirring gently. You should see the milk begin to curdle almost immediately, separating into white clumps (curds) and a yellowish liquid (whey).
-
5
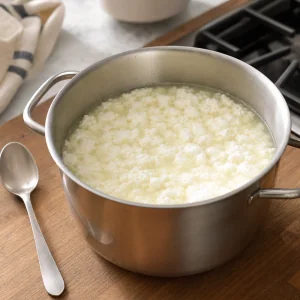
Remove the pot from the heat and let it sit undisturbed for about 10 minutes to complete the separation.
-
6
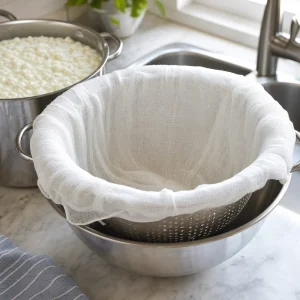
Line a colander with several layers of cheesecloth and place it over a large bowl or in the sink.
-
7
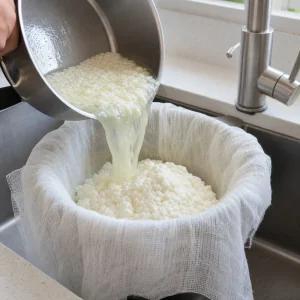
Carefully pour the mixture into the cheesecloth to catch the curds. Rinse the curds under cool water to remove any lingering lemon flavor.
-
8
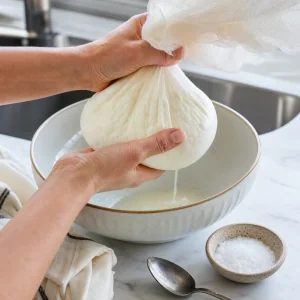
Gather the corners of the cheesecloth and squeeze gently to remove excess liquid. Stir in the sea salt at this stage.
-
9

Tie the cloth and hang it over a bowl for 30 minutes for a softer cheese, or place it under a heavy weight (like a cast iron skillet) for 1-2 hours for a firmer, sliceable cheese.
-
10
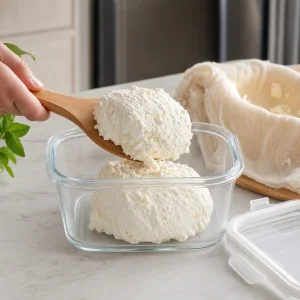
Remove the cheese from the cloth and store in an airtight container in the refrigerator for up to 5 days.
Ingredients
- Whole milk (not ultra-pasteurized):1 lb
- Lemon juice (freshly squeezed):0.5 cup
- Sea salt:1 tsp
Tips & Notes
- Avoid using ultra-pasteurized (UHT) milk, as it won't curdle properly due to the high heat treatment.
- Save the leftover whey! It's packed with protein and can be used in smoothies, soups, or as a liquid replacement in bread baking.
- For extra flavor, mix in fresh chives, cracked black pepper, or red pepper flakes after draining the liquid.