Authentic Homemade Ciabatta Bread with Crispy Crust
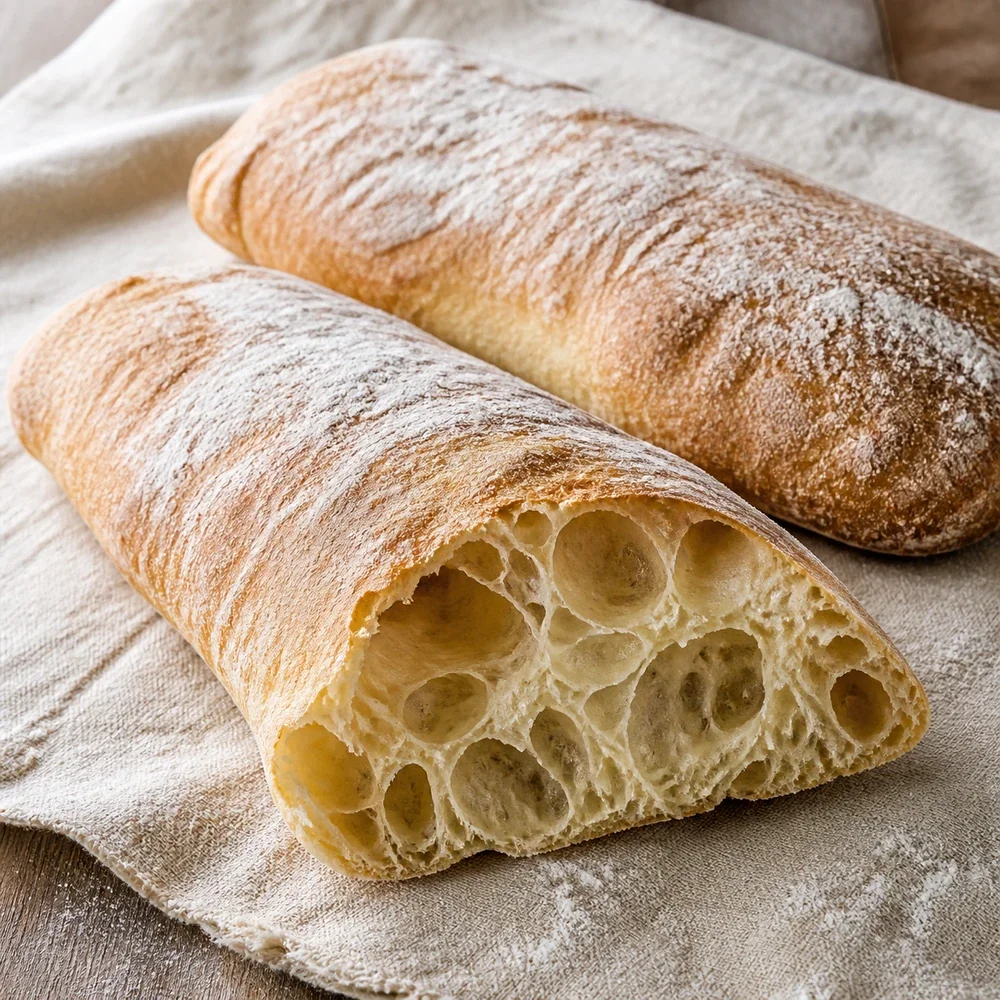

Homemade Ciabatta
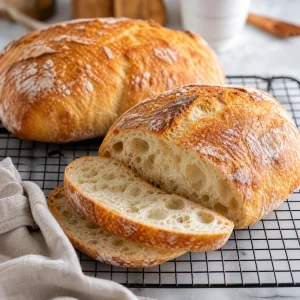
A classic Italian slipper bread with a chewy, airy interior and a perfectly thin, crisp crust.
There is something truly magical about the aroma of fresh Ciabatta wafting through the kitchen. Known as Italy’s slipper bread because of its long, flat shape, this loaf is famous for its high hydration levels which create those iconic, irregular air pockets inside. It’s the ultimate bread for dipping into high-quality olive oil or building the perfect gourmet panini, offering a satisfyingly chewy texture that keeps you coming back for more.
Mastering this recipe is all about patience and handling the dough with a gentle touch. Instead of traditional kneading, we use a series of stretch and folds to build strength while preserving the delicate bubbles that give the bread its lightness. When it finally hits the hot oven, the steam helps create a thin, crackly crust that shatters beautifully when you bite into it. It’s a labor of love that rewards you with bakery-quality bread right in your own home.
Nutrition (per serving)
Directions
-
1
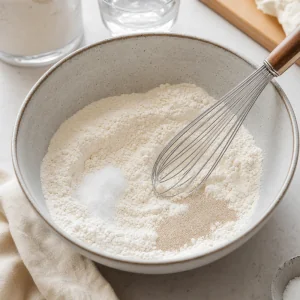
In a large mixing bowl, whisk together the bread flour, salt, and instant yeast.
-
2
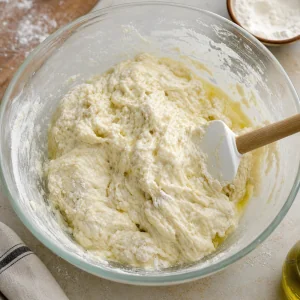
Add the warm water and olive oil to the dry ingredients, mixing with a sturdy spatula until a very wet, shaggy dough forms.
-
3
Cover the bowl with a damp cloth and let the dough rest for 30 minutes to allow the flour to hydrate.
-
4
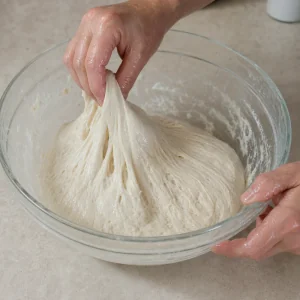
With wet hands, perform a set of stretch and folds by pulling the edge of the dough up and folding it into the center. Repeat this 4 times, rotating the bowl each time. Cover and rest for 30 minutes.
-
5
Repeat the stretch and fold process 3 more times every 30 minutes for a total of 4 sets. This builds the gluten structure without heavy kneading.
-
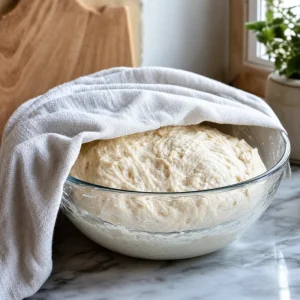
6
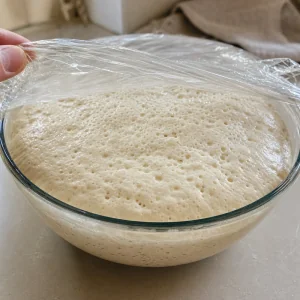
After the final fold, cover the bowl tightly and let the dough rise in a warm, draft-free spot for 2 hours or until it has doubled in size and looks very bubbly.
-
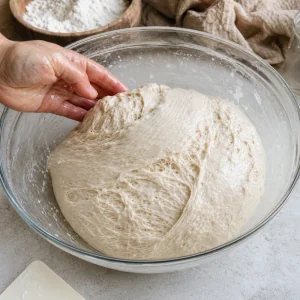
7
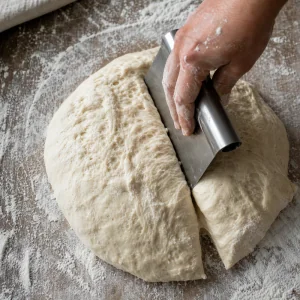
Generously flour your work surface. Gently tip the dough out, taking care not to deflate the air bubbles. Using a bench scraper, cut the dough into two long rectangular loaves.
-
8
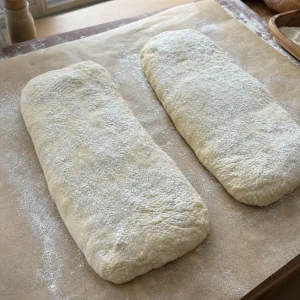
Transfer the loaves to a sheet of parchment paper, dust the tops with more flour, and let them rest for 45 minutes uncovered.
-
9
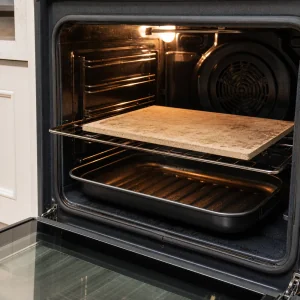
Preheat your oven to 450°F with a baking stone or an inverted baking sheet inside. Place an empty broiler pan on the bottom rack.
-
10
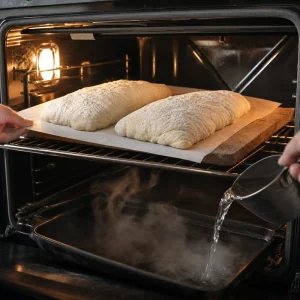
Carefully slide the parchment with the loaves onto the hot stone. Pour one cup of hot water into the broiler pan to create steam, then quickly close the oven door.
-
11
Bake for 20-25 minutes until the crust is deep golden brown. Let the bread cool completely on a wire rack before slicing.
Ingredients
- Bread flour:3.5 cups
- Warm water:1.5 cups
- Kosher salt:2 tsp
- Instant yeast:1 tsp
- Extra virgin olive oil:1 tbsp
Tips & Notes
- Don't be tempted to add more flour; the high moisture content is what creates the airy holes inside.
- Using a pizza stone or a preheated heavy baking sheet is essential for getting that professional bottom crust.
- Wait at least an hour before slicing, as the bread continues to set its structure while cooling.