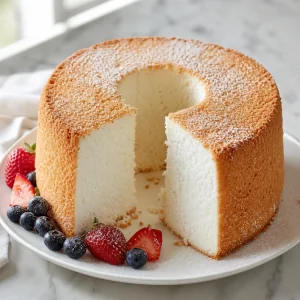
Classic Filipino Bibingka (Coconut Rice Cake) Recipe

Bibingka is one of my favorite Filipino treats — tender, slightly smoky around the edges, and laced with coconut flavor. It's the kind of cake that feels like a warm hug: simple batter, a charred top from the banana leaf, and the irresistible contrast of salty egg and sharp cheese.
This version keeps things approachable for home bakers: rice and glutinous rice flours for that classic chew, rich coconut milk, and little pats of butter to finish. Make it for a holiday morning or a cozy snack, and serve it warm for the best texture and aroma.
Nutrition (per serving)
Directions
-
1
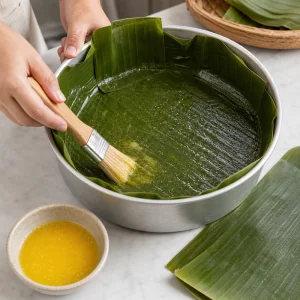
Preheat oven to 375°F. If using banana leaves, briefly pass them over a flame or hot skillet to soften and trim to fit your cake pan(s); line an 8- or 9-inch round pan or individual pans with the leaves and brush lightly with melted butter.
-
2
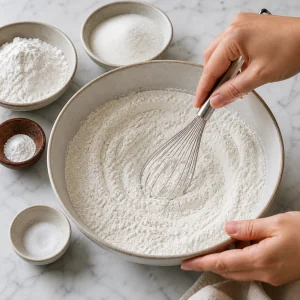
In a large bowl whisk together rice flour, glutinous rice flour, sugar, baking powder, and salt until evenly blended.
-
3

In a separate bowl whisk coconut milk, eggs, and 6 tbsp melted butter until smooth and slightly frothy.
-
4
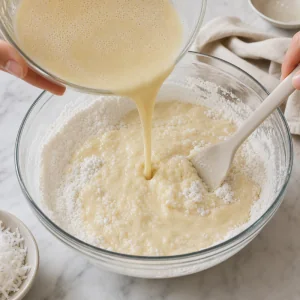
Pour the wet ingredients into the dry ingredients and stir until just combined; the batter should be pourable but slightly thick. Let rest 5–10 minutes while the oven finishes preheating.
-
5
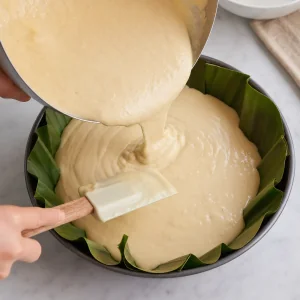
Pour the batter into the prepared pan(s) about 3/4 full. Smooth the top gently with a spatula.
-
6
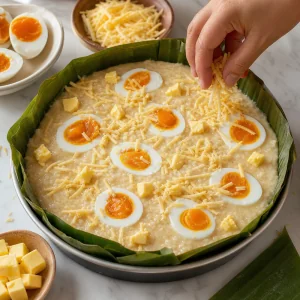
Top the batter with halved salted duck eggs, spacing them evenly, then sprinkle grated cheddar cheese over the surface. Dot with the remaining 2 tbsp butter.
-
7
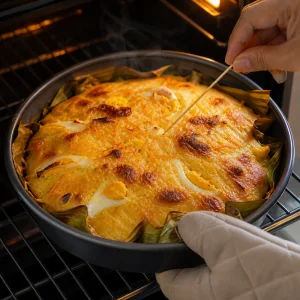
Bake at 375°F for 20–25 minutes until the top is golden with a few toasted spots and a toothpick inserted into the center comes out mostly clean.
-
8
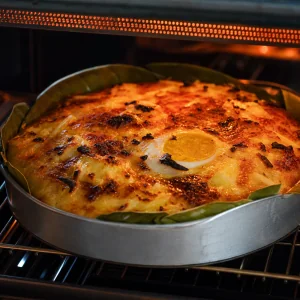
If you like a slightly charred top (traditional), briefly place under a hot broiler for 1–2 minutes, watching carefully so it doesn't burn.
-
9

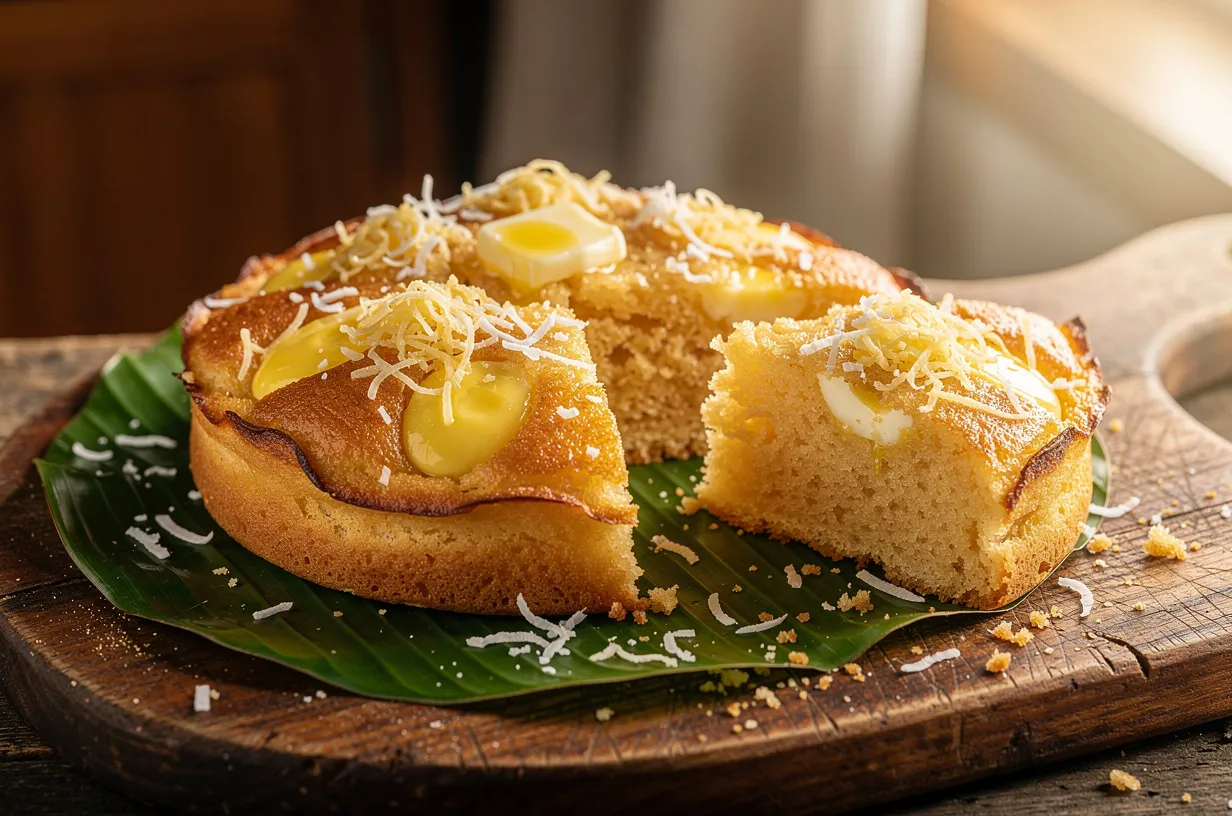
Remove from oven and let cool for 5–10 minutes, then loosen from the pan. If lined with banana leaf, transfer to a serving board; otherwise, serve straight from the pan.
-
10
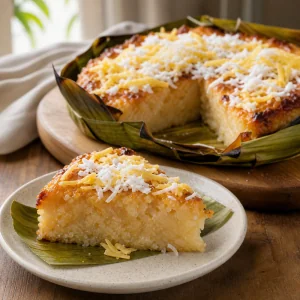
Serve warm, topped with extra grated coconut or more cheese if you like. Bibingka is best the day it's made but can be gently reheated.
Ingredients
- Rice flour:2 cups
- Glutinous rice flour:1 cup
- Granulated sugar:1 cup
- Baking powder:2 tsp
- Salt:1/2 tsp
- Coconut milk:2 cups
- Large eggs:2 pieces
- Melted unsalted butter (in batter):6 tbsp
- Unsalted butter (for topping):2 tbsp
- Banana leaves (for lining, optional):2-3 pieces
- Salted duck eggs, halved:4 pieces
- Grated sharp cheddar cheese:1 cup
- Fresh grated coconut or coconut flakes (optional):1/2 cup
Tips & Notes
- If you can't find banana leaves, use parchment paper and brush lightly with butter for flavor; the leaf chiefly adds aroma and a nice char.
- For a milder taste, substitute regular eggs for salted duck eggs and finish with sea salt flakes to balance the sweetness.
- Use full-fat coconut milk for richness; shake the can well before measuring so the cream is incorporated.
- Watch the top closely if broiling — it takes only a minute or two to get that traditional toasted look.