Homemade Mochi: Chewy Japanese Rice Cakes

Homemade Mochi
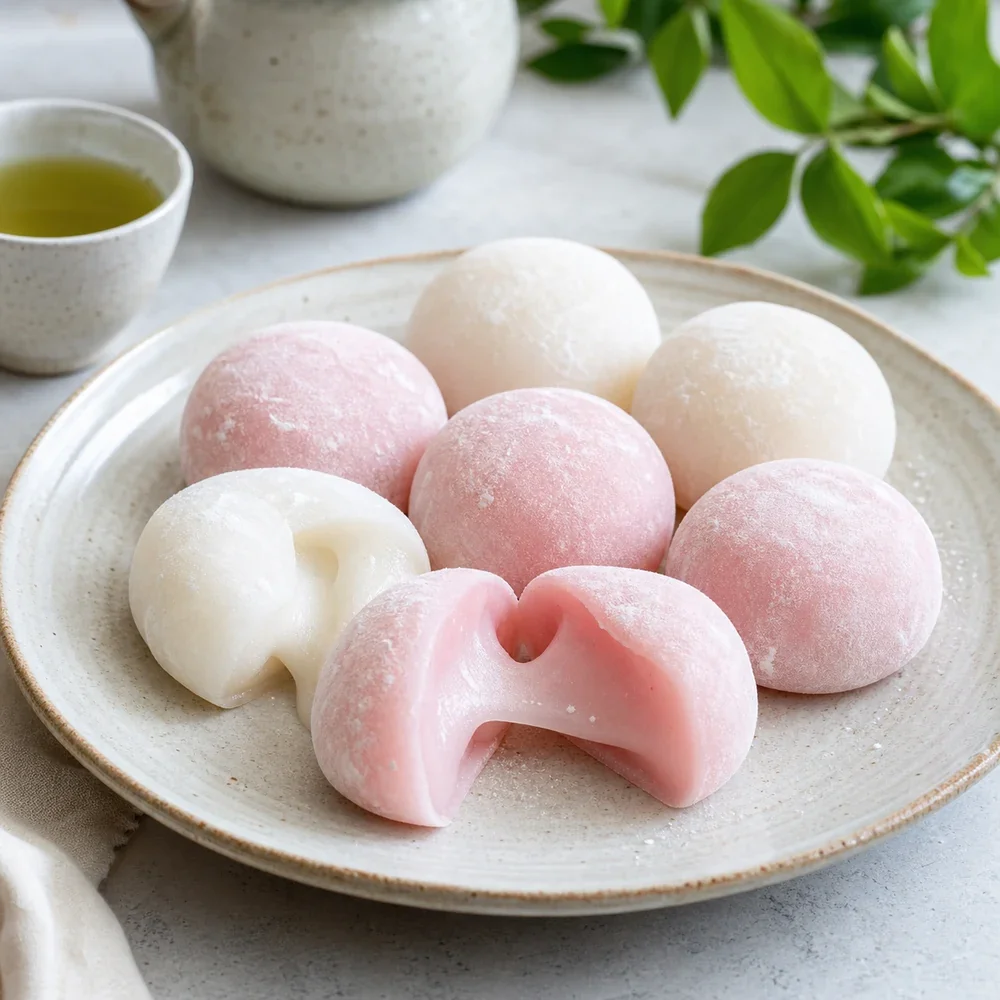
Soft and chewy Japanese mochi made from sweet rice flour. Perfect for snacking or filling with your favorite flavors.
Prep Time:15 minCook Time:10 minTotal Time:25 minServings:12Difficulty:Easy
Mochi is one of those magical Japanese treats that looks deceptively simple but delivers pure joy with every bite. These chewy, pillowy rice cakes have been beloved in Japan for centuries, and once you taste homemade mochi, you'll understand why. The beauty of making mochi at home is that you control the texture, flavor, and fillings—whether you prefer classic versions or creative takes with matcha, strawberry, or even chocolate.
The process might seem intimidating, but trust me, it's easier than you think. Sweet rice flour transforms into silky dough in minutes, and the fun part is customizing it however you like. Whether you're filling them with red bean paste, mango, or leaving them plain for snacking, homemade mochi is a rewarding project that impresses friends and family every single time.
Nutrition (per serving)
Calories:85 kcal
Protein:1 g
Carbs:19 g
Directions
-
1
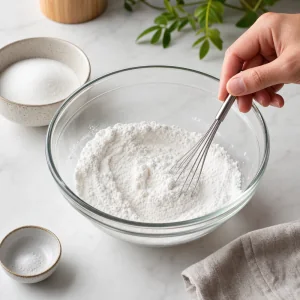
Mix sweet rice flour, sugar, and salt in a microwave-safe bowl.
-
2
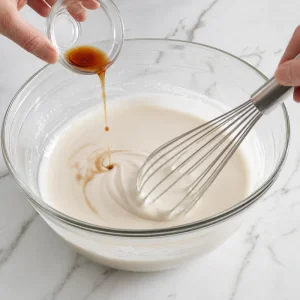
Add water and vanilla extract, stirring until smooth with no lumps.
-
3
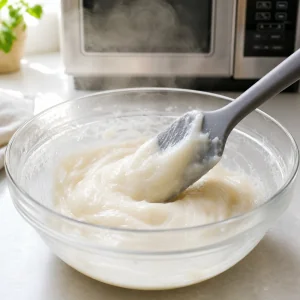
Microwave the mixture uncovered for 2 minutes. Stir well.
-
4
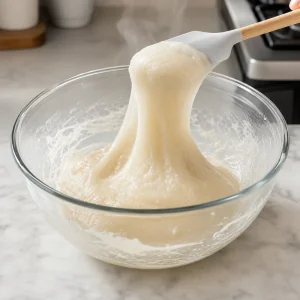
Microwave again for another 1-2 minutes until the dough becomes translucent and pulls away from the sides of the bowl.
-
5
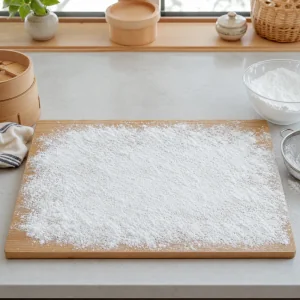
Dust a clean surface generously with potato starch or cornstarch.
-
6
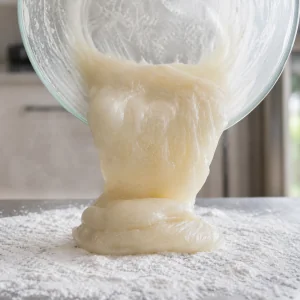
Pour the hot mochi dough onto the starched surface and let it cool for 2-3 minutes until you can handle it.
-
7
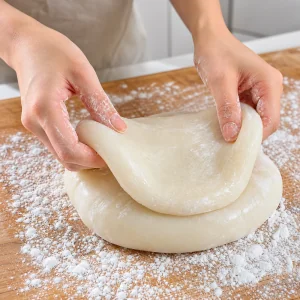
Dust your hands with starch and gently stretch and fold the dough a few times to cool it down.
-
8
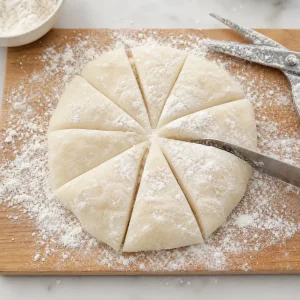
Cut the dough into 12 equal pieces using starched scissors or a knife.
-
9
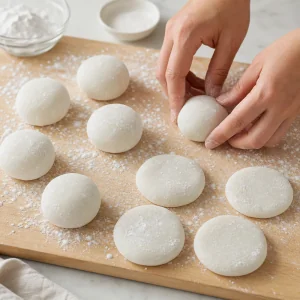
Roll each piece into a ball or flatten into a small disk.
-
10
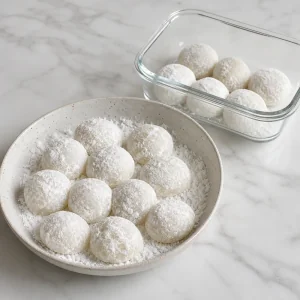
Toss all mochi pieces in extra starch to prevent sticking and store in an airtight container.
Ingredients
- Sweet rice flour (mochiko):1 cup
- Granulated sugar:3 tbsp
- Water:¾ cup
- Potato starch or cornstarch:3 tbsp
- Vanilla extract:½ tsp
- Pinch of salt:1 pinch
Tips & Notes
- The dough will be very hot straight from the microwave—be patient and let it cool slightly before handling.
- Generously dust your work surface with starch; this prevents sticking and makes shaping much easier.
- For filled mochi, flatten each piece, add a small amount of your favorite filling in the center, then fold edges up and seal gently.
- Store finished mochi in an airtight container at room temperature for up to 3 days, or freeze for up to a month.
- You can add food coloring or matcha powder to the mixture before microwaving to create beautiful colored mochi.