Individual Tiramisu Jars with Silky Mascarpone Cream
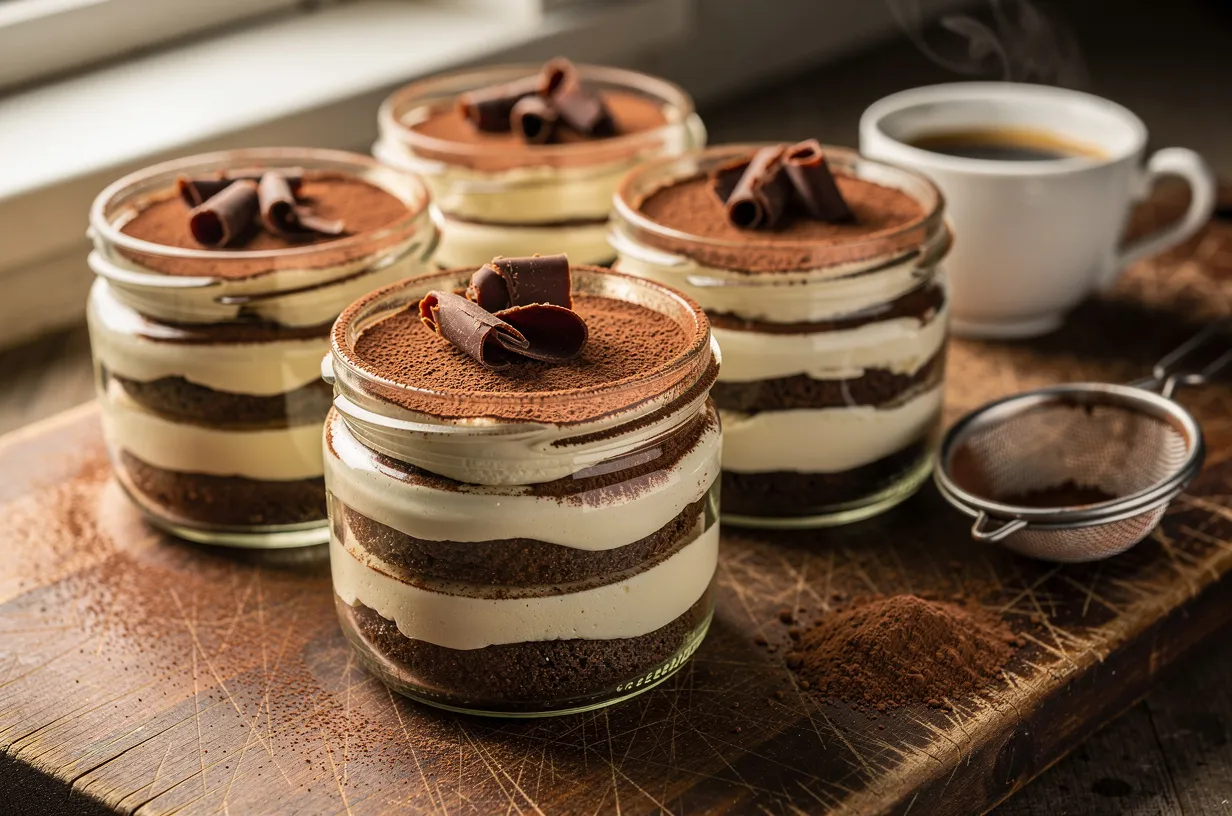

I love how tiramisu in a jar makes an elegant dessert feel so approachable — each jar is a perfectly portioned promise of coffee-soaked ladyfingers, silky mascarpone cream, and a dusting of cocoa. This version uses a quick zabaglione to gently cook egg yolks, folded with mascarpone and whipped cream so the texture is light, stable, and irresistibly creamy.
These jars are wonderful for entertaining because you can assemble them ahead of time and chill until serving. I’ll walk you through simple tips to keep the ladyfingers from getting soggy and how to layer for pretty results every time.
Nutrition (per serving)
Directions
-
1
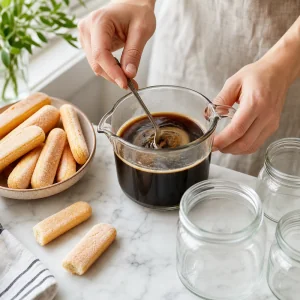
Brew the espresso and let it cool to room temperature; stir in the coffee liqueur if using and set aside.
-
2
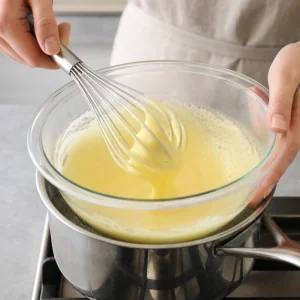
Set a heatproof bowl over gently simmering water (double boiler). Whisk the egg yolks with the granulated sugar until pale. Continue whisking over the simmering water for 4–6 minutes until the mixture is thick, ribboning and warm to the touch (zabaglione). Remove from heat and let cool slightly.
-
3
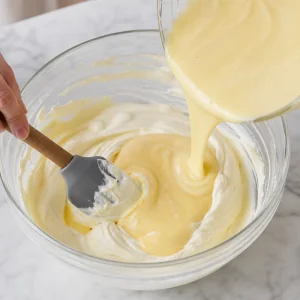
Whisk the mascarpone in a bowl until smooth, then fold the cooled zabaglione into the mascarpone until combined and silky.
-
4
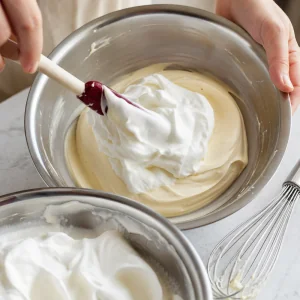
Whip the cold heavy cream with the vanilla and salt to soft peaks, then gently fold the whipped cream into the mascarpone mixture until light and even.
-
5
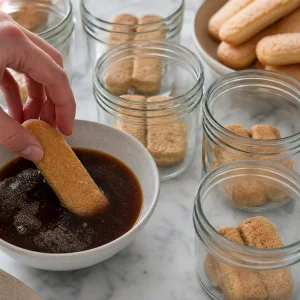
Quickly dip each ladyfinger into the cooled espresso for 1–2 seconds (do not soak), arranging a layer of soaked ladyfingers in the bottom of each jar.
-
6
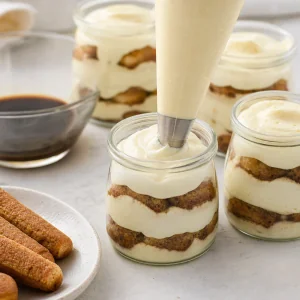
Spoon or pipe a generous layer of mascarpone cream over the ladyfingers, then repeat with another layer of dipped ladyfingers and finish with a final layer of cream. Smooth the tops.
-
7
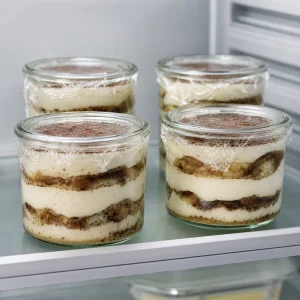
Cover the jars and chill in the refrigerator for at least 3 hours (best overnight) to set and allow flavors to meld.
-
8
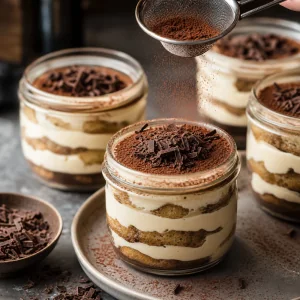
Just before serving, dust each jar with a fine layer of cocoa powder and top with chocolate shavings if desired.
Ingredients
- Mascarpone cheese:16 oz
- Large pasteurized egg yolks:4 pieces
- Granulated sugar:1/2 cup
- Strong brewed espresso, cooled:1 1/2 cups
- Coffee liqueur (optional):3 tbsp
- Heavy cream (cold):1 cup
- Vanilla extract:1 tsp
- Ladyfingers:20 pieces
- Unsweetened cocoa powder (for dusting):2 tbsp
- Dark chocolate shavings (optional):1 oz
- Pinch of fine salt:1/8 tsp
Tips & Notes
- Use pasteurized eggs if you're concerned about raw eggs — they work perfectly for zabaglione.
- Dip ladyfingers very briefly to avoid soggy centers; a 1–2 second dunk is usually enough.
- Assemble a day ahead for the best texture and flavor — tiramisu deepens as it rests.
- If mascarpone is too firm, let it sit at room temperature 15 minutes so it blends smoothly.