Colorful Probiotic Fermented Vegetables with Garlic and Dill
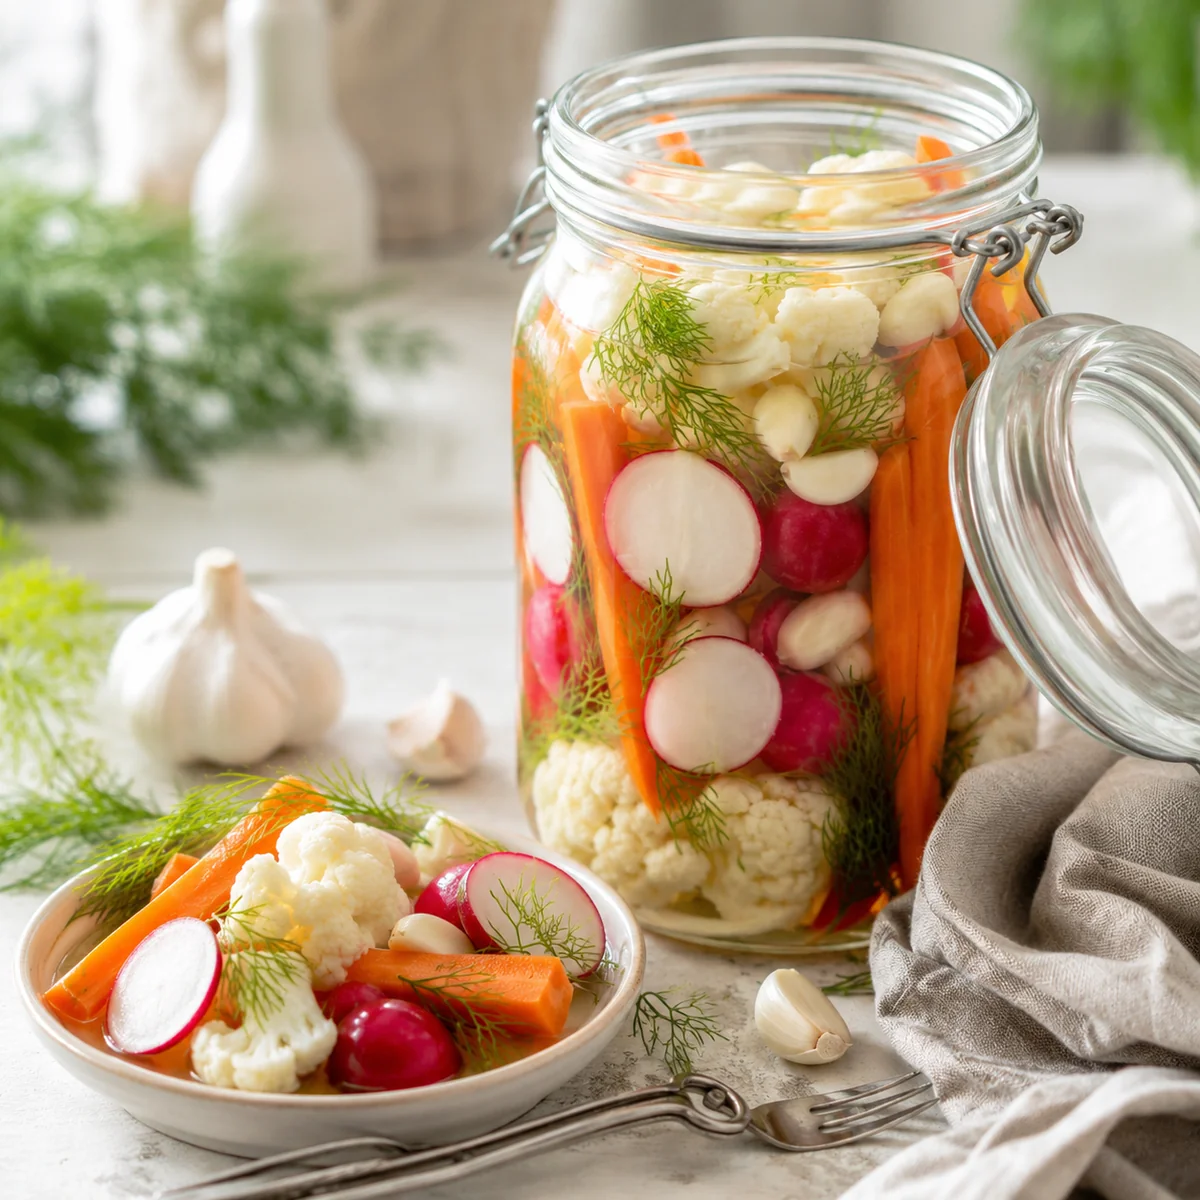

Fermented Veggies
Crisp, tangy vegetables packed with probiotics. A simple, healthy ferment for any meal.
There is something truly magical about the ancient art of fermentation. It’s like a slow-motion kitchen science experiment that transforms humble, crunchy garden vegetables into tangy, probiotic-rich powerhouses. These fermented veggies are my absolute favorite way to add a bright, acidic pop to grain bowls, sandwiches, or even just to snack on straight from the jar when I need a little afternoon pick-me-up. The process is surprisingly simple: just salt, water, and time work together to create deep, complex flavors that you simply can't find in store-bought pickles.
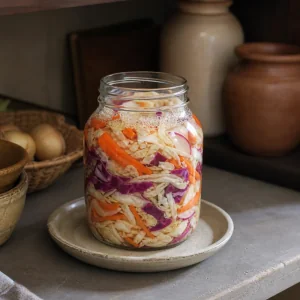
The beauty of this recipe lies in its versatility. While I love the classic combination of carrots, cauliflower, and radishes, you can truly make this your own by using whatever is seasonal or sitting in your crisper drawer. The addition of fresh dill and smashed garlic cloves creates a savory, aromatic brine that infuses every bite with a classic deli-style punch. Once you see those little bubbles start to form in the jar, you’ll know the 'good' bacteria are hard at work, creating a snack that is not only delicious but also incredibly kind to your gut health.
Nutrition (per serving)
Directions
-
1
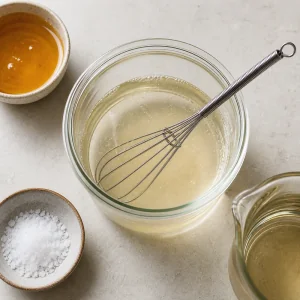
In a small pitcher or jar, whisk together the filtered water and sea salt until the salt is completely dissolved to create your brine.
-
2
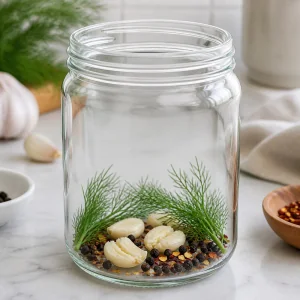
Place the smashed garlic, peppercorns, red pepper flakes, and two sprigs of dill at the bottom of a clean 1-quart wide-mouth glass jar.
-
3
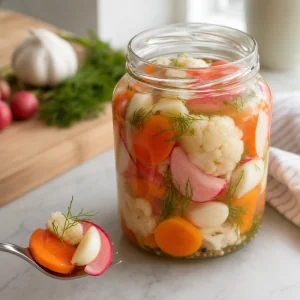
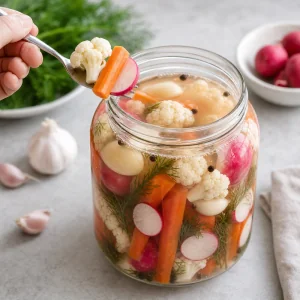
Pack the carrots, cauliflower, and radishes into the jar as tightly as possible without crushing them, leaving about 1 to 2 inches of headspace at the top.
-
4
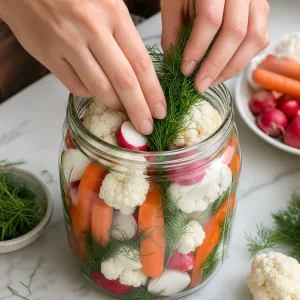
Tuck the remaining dill sprigs in between the vegetables.
-
5
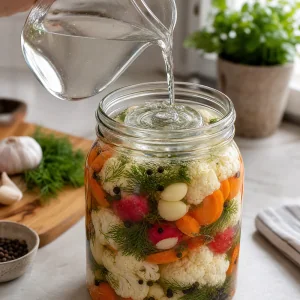
Pour the brine over the vegetables until they are completely submerged. If the vegetables float, use a glass fermentation weight or a small clean stone to keep them under the liquid.
-
6
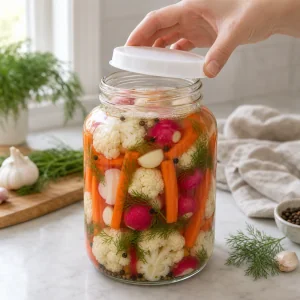
Seal the jar with a fermentation lid or a standard lid placed on loosely (to allow gases to escape).
-
7
Place the jar on a small plate (to catch any overflow) in a cool spot away from direct sunlight for 5 to 7 days.
-
8
Taste the vegetables after 5 days. If they are tangy and 'pickly' enough for your liking, move the jar to the refrigerator. If not, let them ferment for a few more days.
-
9
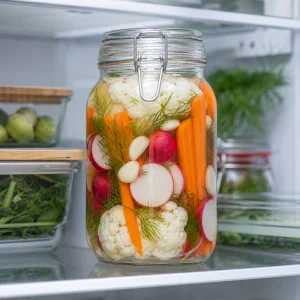
Store in the refrigerator for up to 6 months. The flavor will continue to develop slowly over time.
Ingredients
- Filtered water:2 cups
- Sea salt (non-iodized):1.5 tbsp
- Carrots, peeled and cut into sticks:2 pieces
- Cauliflower, cut into small florets:1 cup
- Radishes, halved:4 oz
- Garlic cloves, smashed:3 pieces
- Fresh dill sprigs:4 pieces
- Whole black peppercorns:1 tsp
- Red pepper flakes (optional for heat):0.25 tsp
Tips & Notes
- Always use filtered or spring water, as chlorine in tap water can inhibit the growth of beneficial bacteria.
- Make sure your vegetables stay below the brine level at all times to prevent mold from forming.
- The 'burp' method: If you aren't using a fermentation lid, make sure to open the jar once a day to release the built-up carbon dioxide.
- Don't be alarmed by cloudy brine—this is a normal and healthy sign that the fermentation is progressing well.