Japanese Tuna Mayo Onigiri

Tuna Mayo Onigiri
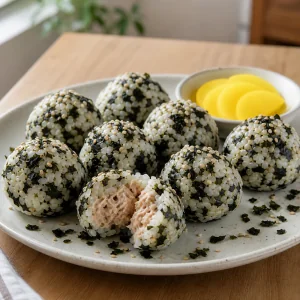
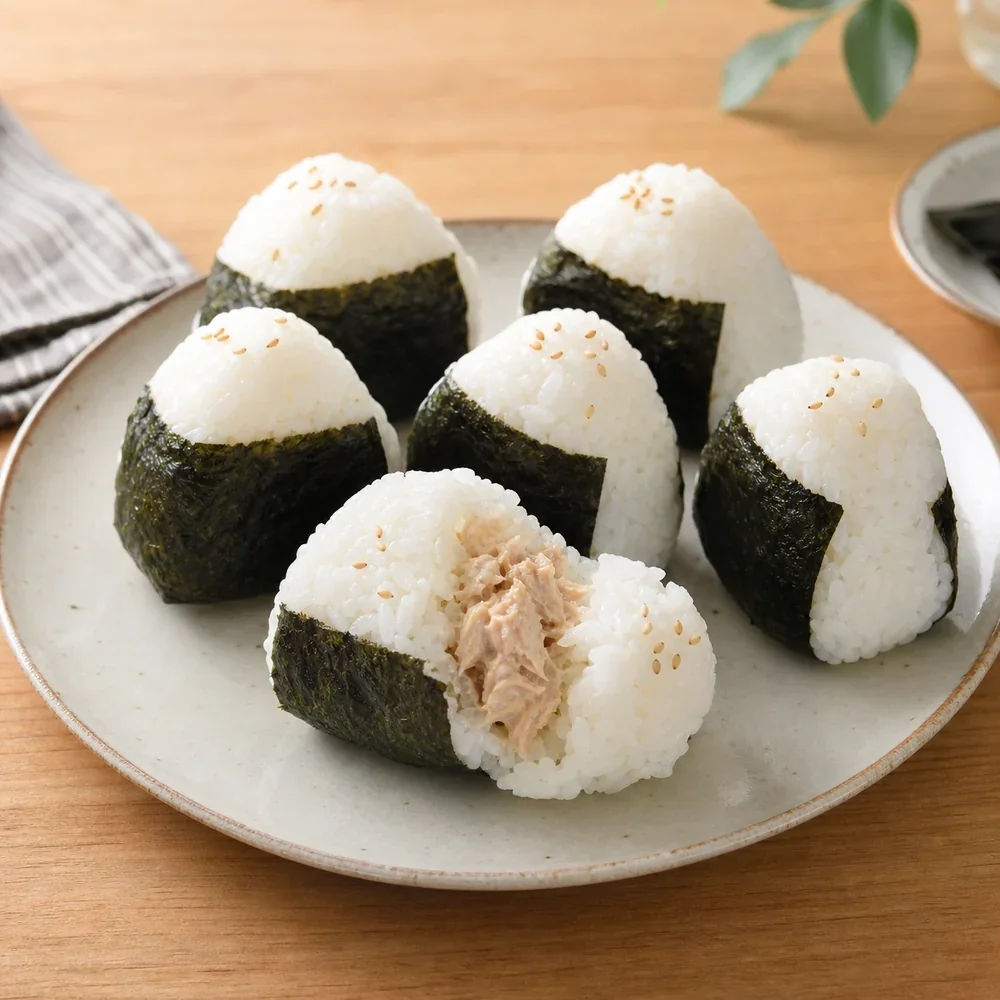
Japanese rice balls filled with creamy tuna mayonnaise, shaped by hand, and wrapped with crisp sheets of nori.
Tuna mayo onigiri is a practical Japanese rice ball built around a small, savory filling. The rice is lightly salted rather than dressed like sushi rice, which keeps the flavor clean and lets the creamy tuna center stand out.
Short-grain Japanese rice is essential because it becomes sticky enough to hold its shape without being mashed. Rinse it well, cook it gently, and shape the onigiri while the rice is still warm enough to cling together.
The filling should be creamy but not loose. Draining the tuna thoroughly keeps the rice from becoming wet, while a little soy sauce and rice vinegar give the mayonnaise a balanced, savory edge.
Wrap the nori close to serving time if you want the seaweed crisp. For lunch boxes, pack the nori separately and wrap each rice ball just before eating.
Nutrition (per serving)
Directions
-
1
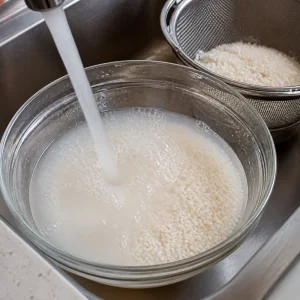
Rinse the rice in several changes of cool water until the water is mostly clear, then drain it well for 10 minutes.
-
2
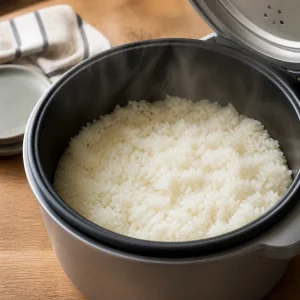
Combine the drained rice and 2 1/4 cups water in a rice cooker or heavy saucepan. Cook until tender, then let the rice rest covered for 10 minutes.
-
3
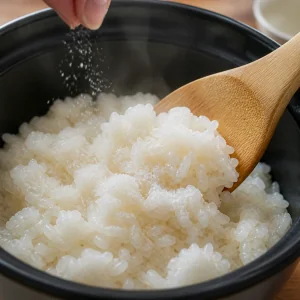
Fluff the hot rice gently and sprinkle with 1 teaspoon salt. Fold just until evenly seasoned, then keep the rice covered so it stays warm and pliable.
-
4
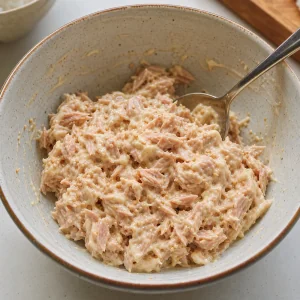
Mix the drained tuna, Japanese mayonnaise, soy sauce, rice vinegar, and sesame seeds in a bowl. Break up the tuna finely so the filling is creamy but still holds together.
-
5
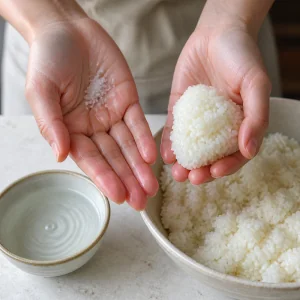
Set a small bowl of water beside the rice. Wet your hands lightly, rub a pinch of salt over your palms, and scoop about 1/2 cup warm rice into one hand.
-
6
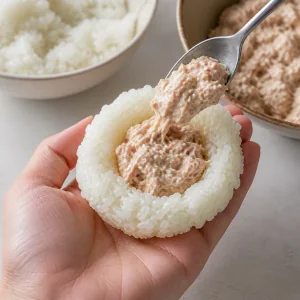
Press a shallow well into the rice, add about 1 tablespoon tuna mayo filling, and cover it with a little more rice if needed.
-
7
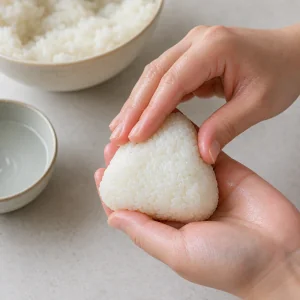
Shape the rice into a firm triangle or rounded ball, pressing gently from all sides so the filling stays enclosed without crushing the grains.
-
8
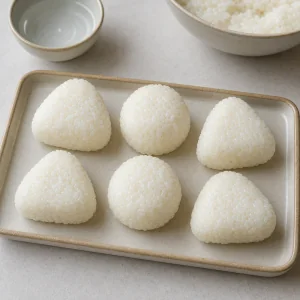
Repeat with the remaining rice and filling to make 6 onigiri, rewetting and salting your hands lightly as needed.
-
9
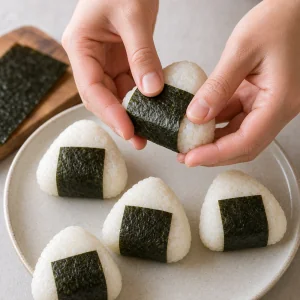
Wrap each onigiri with a strip of nori just before serving so the seaweed stays crisp.
Ingredients
- Japanese Short-Grain Rice:2 cups
- Water:2 1/4 cups
- Fine Sea Salt:1 teaspoon
- Canned Tuna in Water, drained very well:5 ounces
- Japanese Mayonnaise:3 tablespoons
- Soy Sauce:1 teaspoon
- Rice Vinegar:1/2 teaspoon
- Toasted Sesame Seeds:1 tablespoon
- Nori Sheets, cut into wide strips:3
- Water, for shaping:as needed
- Fine Sea Salt, for hands:as needed
Tips & Notes
- Drain the tuna until no liquid pools in the bowl; excess moisture makes onigiri difficult to shape.
- If the rice sticks heavily to your hands, use a little more water, but avoid soaking the surface of the rice.
- For packed lunches, wrap the rice balls tightly and keep the nori separate until serving.