Homemade Creamy Greek Yogurt with Live Starter Culture

Greek Yogurt
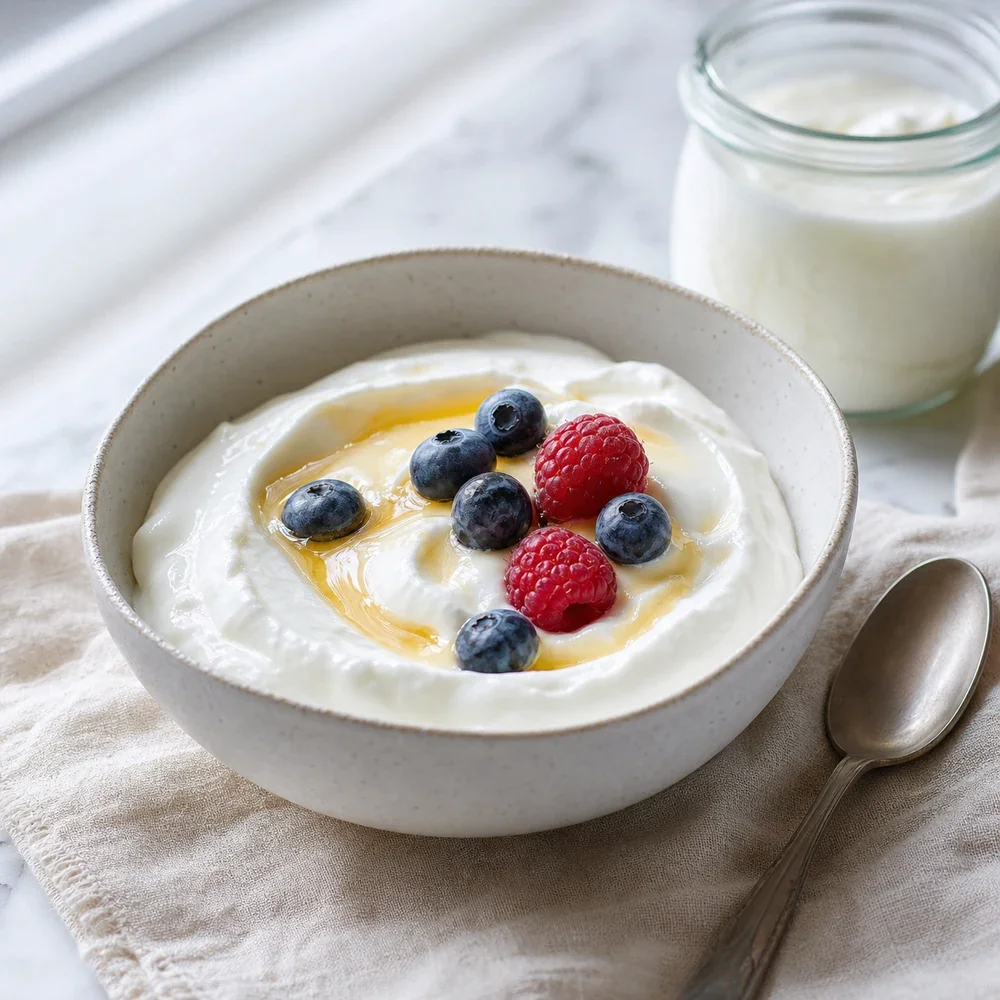
Master the art of thick, velvety Greek yogurt at home with just two simple ingredients.
There is something incredibly satisfying about making your own yogurt from scratch. It’s not just about the cost savings; it’s about that incomparable texture and the clean, tangy flavor you just can’t find in a plastic tub at the store. Once you realize how simple it is to transform a gallon of milk into thick, creamy Greek yogurt, you’ll never go back to the pre-packaged stuff.
The secret to that iconic Greek-style thickness lies in the straining process, which removes the liquid whey and leaves behind a concentrated, protein-packed delight. Using a high-quality starter culture ensures a consistent set and that perfect level of acidity. Whether you top it with honey and walnuts or use it as a base for savory dips, this homemade version is a total game-changer for your breakfast routine.
Nutrition (per serving)
Directions
-
1
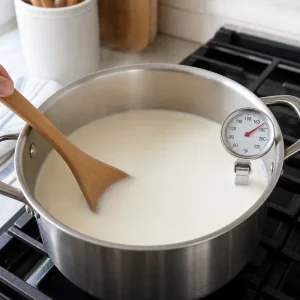
Heat the milk in a large, heavy-bottomed pot over medium heat until it reaches 180°F, stirring frequently to prevent the bottom from scorching.
-
2

Remove the pot from the heat and let the milk cool until it reaches 110°F to 115°F. You can speed this up by placing the pot in an ice bath.
-
3
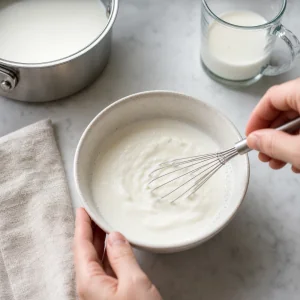
In a small bowl, whisk about half a cup of the warm milk into your yogurt starter until it is completely smooth and no lumps remain.
-
4
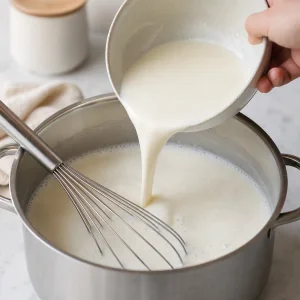
Pour the starter mixture back into the pot with the rest of the warm milk and whisk gently but thoroughly to combine.
-
5
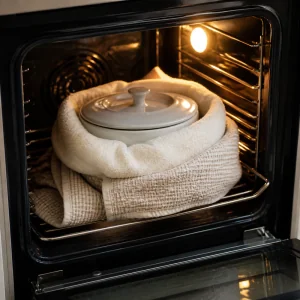
Cover the pot and wrap it in a couple of thick towels to insulate it. Place it in a warm, draft-free spot like an oven with the light turned on (but the heat off) for 8 to 12 hours.
-
6
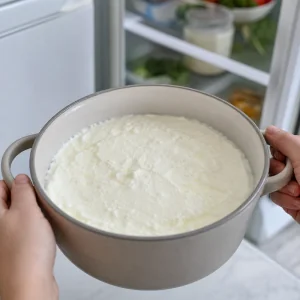
Once the yogurt has set into a soft curd, transfer the pot to the refrigerator for at least 2 hours to firm up.
-
7
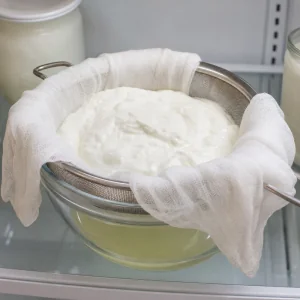
To make it Greek-style, line a fine-mesh sieve with cheesecloth or a coffee filter over a deep bowl. Pour the yogurt in and let it strain in the fridge for 2 to 4 hours, or until it reaches your desired thickness.
-
8
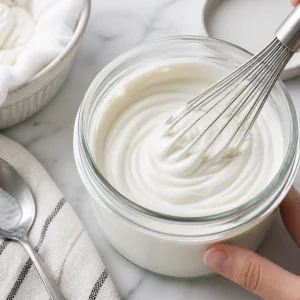
Transfer the thickened yogurt to a clean container and whisk it briefly for a silky-smooth finish before serving.
Ingredients
- Whole milk:0.5 gallon
- Plain Greek yogurt with live active cultures:0.25 cup
Tips & Notes
- Always use a digital thermometer; temperature is the most critical factor for the bacteria to thrive.
- Save the liquid whey strained from the yogurt! It is full of nutrients and can be used in smoothies or as a substitute for buttermilk in baking.
- The longer you let the yogurt strain, the thicker it will become. If it gets too thick, just whisk a little whey back in.